
Before you start
Choose one person in the office to own the move, and pick a quiet week (not exam or admission season). Gather your latest student list, staff list and each student's unpaid fees.
Step 1 — Classes and sections
Create your classes and sections first, and set the class teacher of each section. Everything else attaches to them.
Step 2 — Students
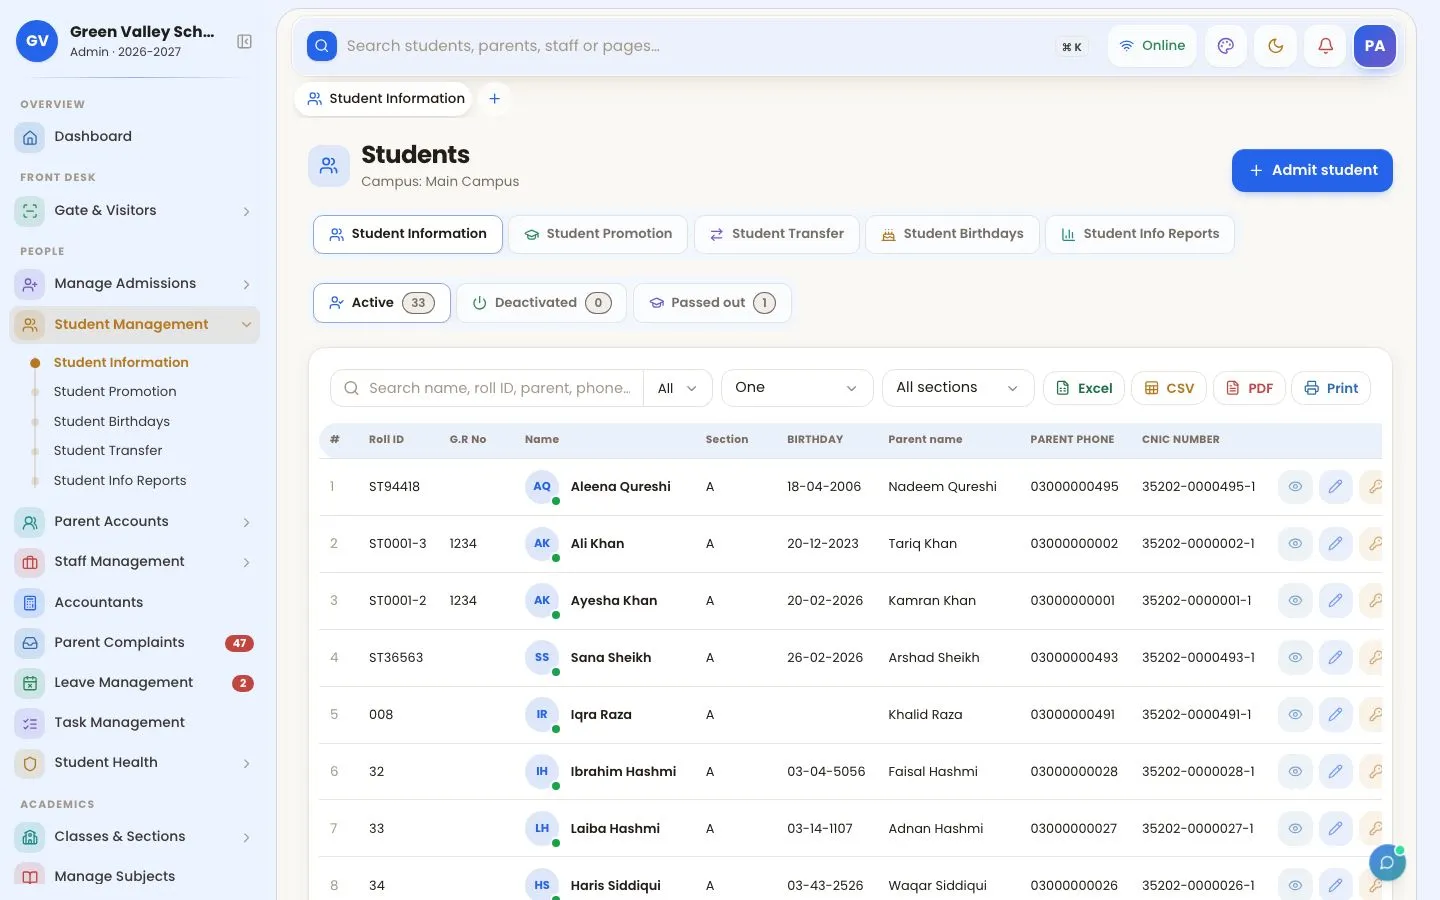
Clean your Excel sheet: one row per student with roll number, name, father's name, phone, class and section. Import it in one go. Siblings are linked to one family so parents get one login and one family voucher.
Step 3 — Staff and subjects
Add teachers and staff with their salary, then the subjects of each section with their teacher. Teachers can now sign in and see only their own classes.
Step 4 — Fee structure and opening dues
Enter your fee types and amounts per class, plus any student discounts. Add each student's old unpaid dues as opening balances so the first voucher is correct.
Step 5 — Run one month side by side
Generate the month's fees in the software and compare a few vouchers with your old method. When they match, stop the old register.
Step 6 — Turn on parent communication
Connect WhatsApp, invite parents to the app, and switch on absent and fee alerts. This is the moment parents notice the change.
We help you move
Our team imports your Excel data and trains your staff over WhatsApp. Create a free account and send us your sheets during the 3-day free trial.
Frequently asked questions
Can I import students from Excel?
Yes. Students, staff and other records can be imported from Excel, and our team helps with the move.
How long does it take to start using school software?
Most schools are fully live within one week, starting with classes, students and fees.
Features mentioned in this guide
Try OurSchoolSoftware free for 3 days
Create your free account — no payment needed.
Create free account